Custom stainless steel u clamp for pipes Factory: Specification, Ordering and Quality Notes
Most quality disputes start with a consistency gap: the next shipment has a different leg spread, thread engagement or surface finish from the sample a distributor approved. Those differences can hold up installation kits and push a launch date. Agreeing the drawing, sample limits and inspection points before production gives both sides a clear reference for repeat orders.
What the Design Has to Balance
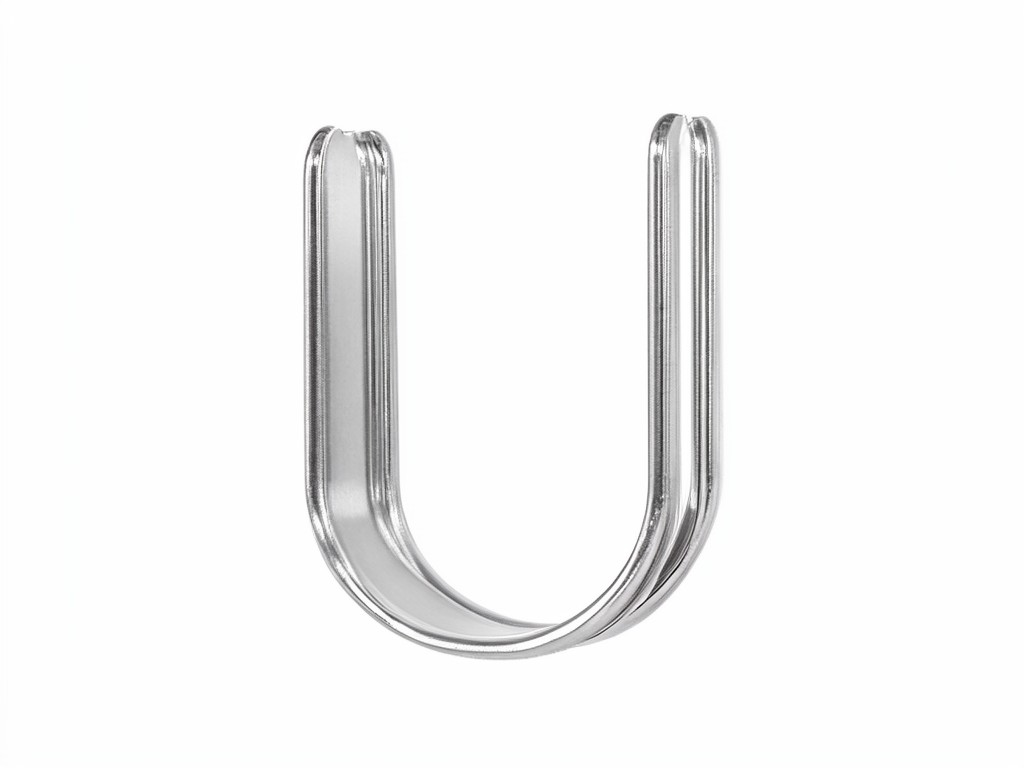
Pipe outside diameter sets the inside width of the U, while the mounting surface and any saddle or backing plate determine the useful leg length. If the bend is too tight for the specified pipe, installers may have to force the legs apart. If it is too wide, the clamp can shift before the nuts are tightened.
Rod or bar diameter, thread length and stainless grade also affect piece weight and price. A heavier section may suit a higher-load assembly, but a U clamp alone does not establish a safe working load. The connected pipe, support, fasteners, mounting surface and service conditions all matter; load claims need an agreed assembly design and validation basis.
Approval rule: release the order against one controlled drawing and an approved physical sample. Record the measurement points for inside width, leg length, thread and bend position so a later inspection does not rely on visual judgment alone.
Specification Range and Customisation Limits
Pipe size, mounting clearance and installation method set the practical dimensions. Share a dimensioned drawing with the pipe outside diameter, required inside width, leg projection, end treatment and nut or plate details. If the clamp must fit an existing assembly, provide a physical reference part as well as the drawing; a sample can reveal seating or clearance issues that a nominal pipe size does not show.
Pipe and Inside Width
Set from pipe outside diameter and the required installation clearance. Confirm the datum used to measure the inside width.
Section and Leg Length
Choose rod or bar diameter and leg projection against the assembly space and load design, not by appearance alone.
Thread and Hardware
Specify thread form, usable thread length, nut type and whether hardware ships loose or fitted.
Grade and Surface
Select stainless grade and finish for the exposure. Match nuts and other included parts to the agreed material specification.
Order and Inspection Reference
| Item | Order Basis | Agreed Check |
|---|---|---|
| Standard size | Drawing dimensions for pipe outside diameter, inside width, bend and leg length; confirm units and datums. | Dimensional checks against buyer-approved tolerances and the approved sample. |
| Weight | Agreed piece configuration, including any nuts, plate or saddle included in the sale unit. | Sample and batch weight checks using the same included components. |
| Material and finish | Specified stainless grade, hardware material and surface condition. | Material documentation as agreed for the order; visual review for finish defects and mix-ups. |
| Thread and fit | Thread specification, usable length and matching nut or mating part. | Thread gauge or mating-part fit check, plus confirmation that the ends seat as drawn. |
The exact tolerance belongs on the approved drawing. Tightening a tolerance can increase sorting, setup time and scrap, so reserve close limits for dimensions that control fit or assembly.
Option Comparison by Usage Level
The service environment determines whether a standard stainless option is enough or a higher-corrosion-resistance grade is justified. Agree the grade before sample approval; a material change after fit approval can affect cost, appearance and component matching.
General Indoor or Sheltered Service
A 304 stainless specification is often the cost-conscious choice for indoor pipe supports or sheltered installations with limited exposure to corrosive agents. Final selection still depends on the process environment and cleaning chemicals.
Coastal or More Corrosive Service
A 316 stainless option may be appropriate where chloride exposure or corrosive washdown is part of service. It usually carries a material cost premium; confirm suitability against the actual exposure rather than treating the grade as a substitute for system-level review.
For either grade, confirm the finish requirement and whether nuts, washers or plates must use a matching grade. Mixed components can become the weak point in corrosion performance even when the U clamp itself matches the purchase specification.
Who Uses It and Where It Matters
Distributors of pipe-support hardware need repeatable dimensions across replenishment orders, especially when clamps ship as part of a fixed installation kit. A change in leg spread or thread length can leave the installer with a part that looks correct but does not match the plate, nut or site connection.
Brand product managers sourcing private-label fittings also need the approved sample, packaging unit and label details settled before a launch order. For maintenance buyers, access for a wrench and clearance around adjacent pipework can be as important as the clamp’s nominal size. The part must suit the real assembly and its exposure; the clamp does not replace a complete support or load assessment.
Segment-Specific Requirements
Outdoor infrastructure buyers should define exposure, drainage and finish expectations, since retained moisture or surface contamination can affect appearance over time. Process or washdown installations should identify the cleaning agents and rinsing conditions before grade and finish approval. Where a clamp is sold for a named pipe system, the buyer should provide the mating dimensions and connection details rather than relying on a broad product label.
- For distributor stock, lock the drawing revision, material grade and unit pack so later orders match the catalogue item.
- For private-label supply, approve label text, carton marks and any supplied installation hardware before the order enters production.
- For replacement parts, compare the original pipe outside diameter, leg length and thread before ordering; visual similarity does not confirm fit.
OEM and ODM Programme Structure
A buyer-supplied drawing is the clearest route when dimensions and assembly interfaces are already set. For a new design, the factory can work from pipe details, mounting constraints and hardware requirements, then issue a drawing for review. These steps should be completed early enough to leave time for sample feedback before the required ship window.
- Submit the drawing or design brief, target quantity, material grade, finish, included components and destination packaging requirements.
- Review the dimensioned drawing together. Mark critical-to-fit dimensions, tolerances, inspection datums and any open questions.
- Approve a sample for fit, thread engagement, surface appearance and included hardware. Record written acceptance against the drawing revision.
- Approve artwork and pack details separately, then confirm order quantity, production slot and shipment plan against the launch date.
Custom labels, carton marks and part identification are easiest to control before packing begins. A late artwork revision or an unapproved dimensional change can create rework, so keep drawing approval and packaging approval as distinct sign-off points.
How Consistency Is Held Across Batches
Repeat orders need one current drawing revision, retained sample reference and defined inspection method. Checks should focus on dimensions that affect seating and assembly, plus thread fit, material identity, finish and the contents of each sale unit. Visual review alone will not catch a small shift in inside width or an incorrect thread detail.
Agree the sampling frequency and acceptance limits before production. For new or revised tooling, first-piece review can catch bend-position or leg-spread issues before the run continues. Batch records should identify the order and drawing revision; material documentation and inspection records can be supplied as agreed in the purchase specification.
A change to material source, dimensions, finish or included hardware should trigger buyer review before shipment. That control helps prevent an unapproved substitution from reaching a distributor’s stock or a scheduled installation.
Setup, Use and Replacement Parts
During installation, seat the clamp against the specified pipe and support before tightening the nuts. Do not pull misaligned legs into position with the fasteners; forced alignment can distort the clamp or load the threads unevenly. Tightening torque and any required load limit must come from the assembly designer or buyer’s installation specification.
- Inspect exposed clamps during planned maintenance for corrosion, thread damage, deformation and movement at the support point.
- Use cleaning methods suitable for the specified stainless grade; avoid introducing carbon-steel contamination from shared tools or storage surfaces.
- For replacement orders, state the original drawing revision or submit a sample. Confirm whether nuts, washers and plates are part of the replacement set.
Keep spare parts under the same identification and packaging rules as the original order. Clear revision control helps maintenance teams distinguish a direct replacement from a later design change.
Specification Review for Your Next Order
Send the pipe dimensions, drawing revision, material and finish requirements, hardware configuration, target quantity and required ship date for a specification review. An early drawing and sample check can surface fit questions before they affect your launch schedule.
Contact the factory to review your U clamp specification and order timing.